OPEN THE TRACK
Start with the GPX trace.
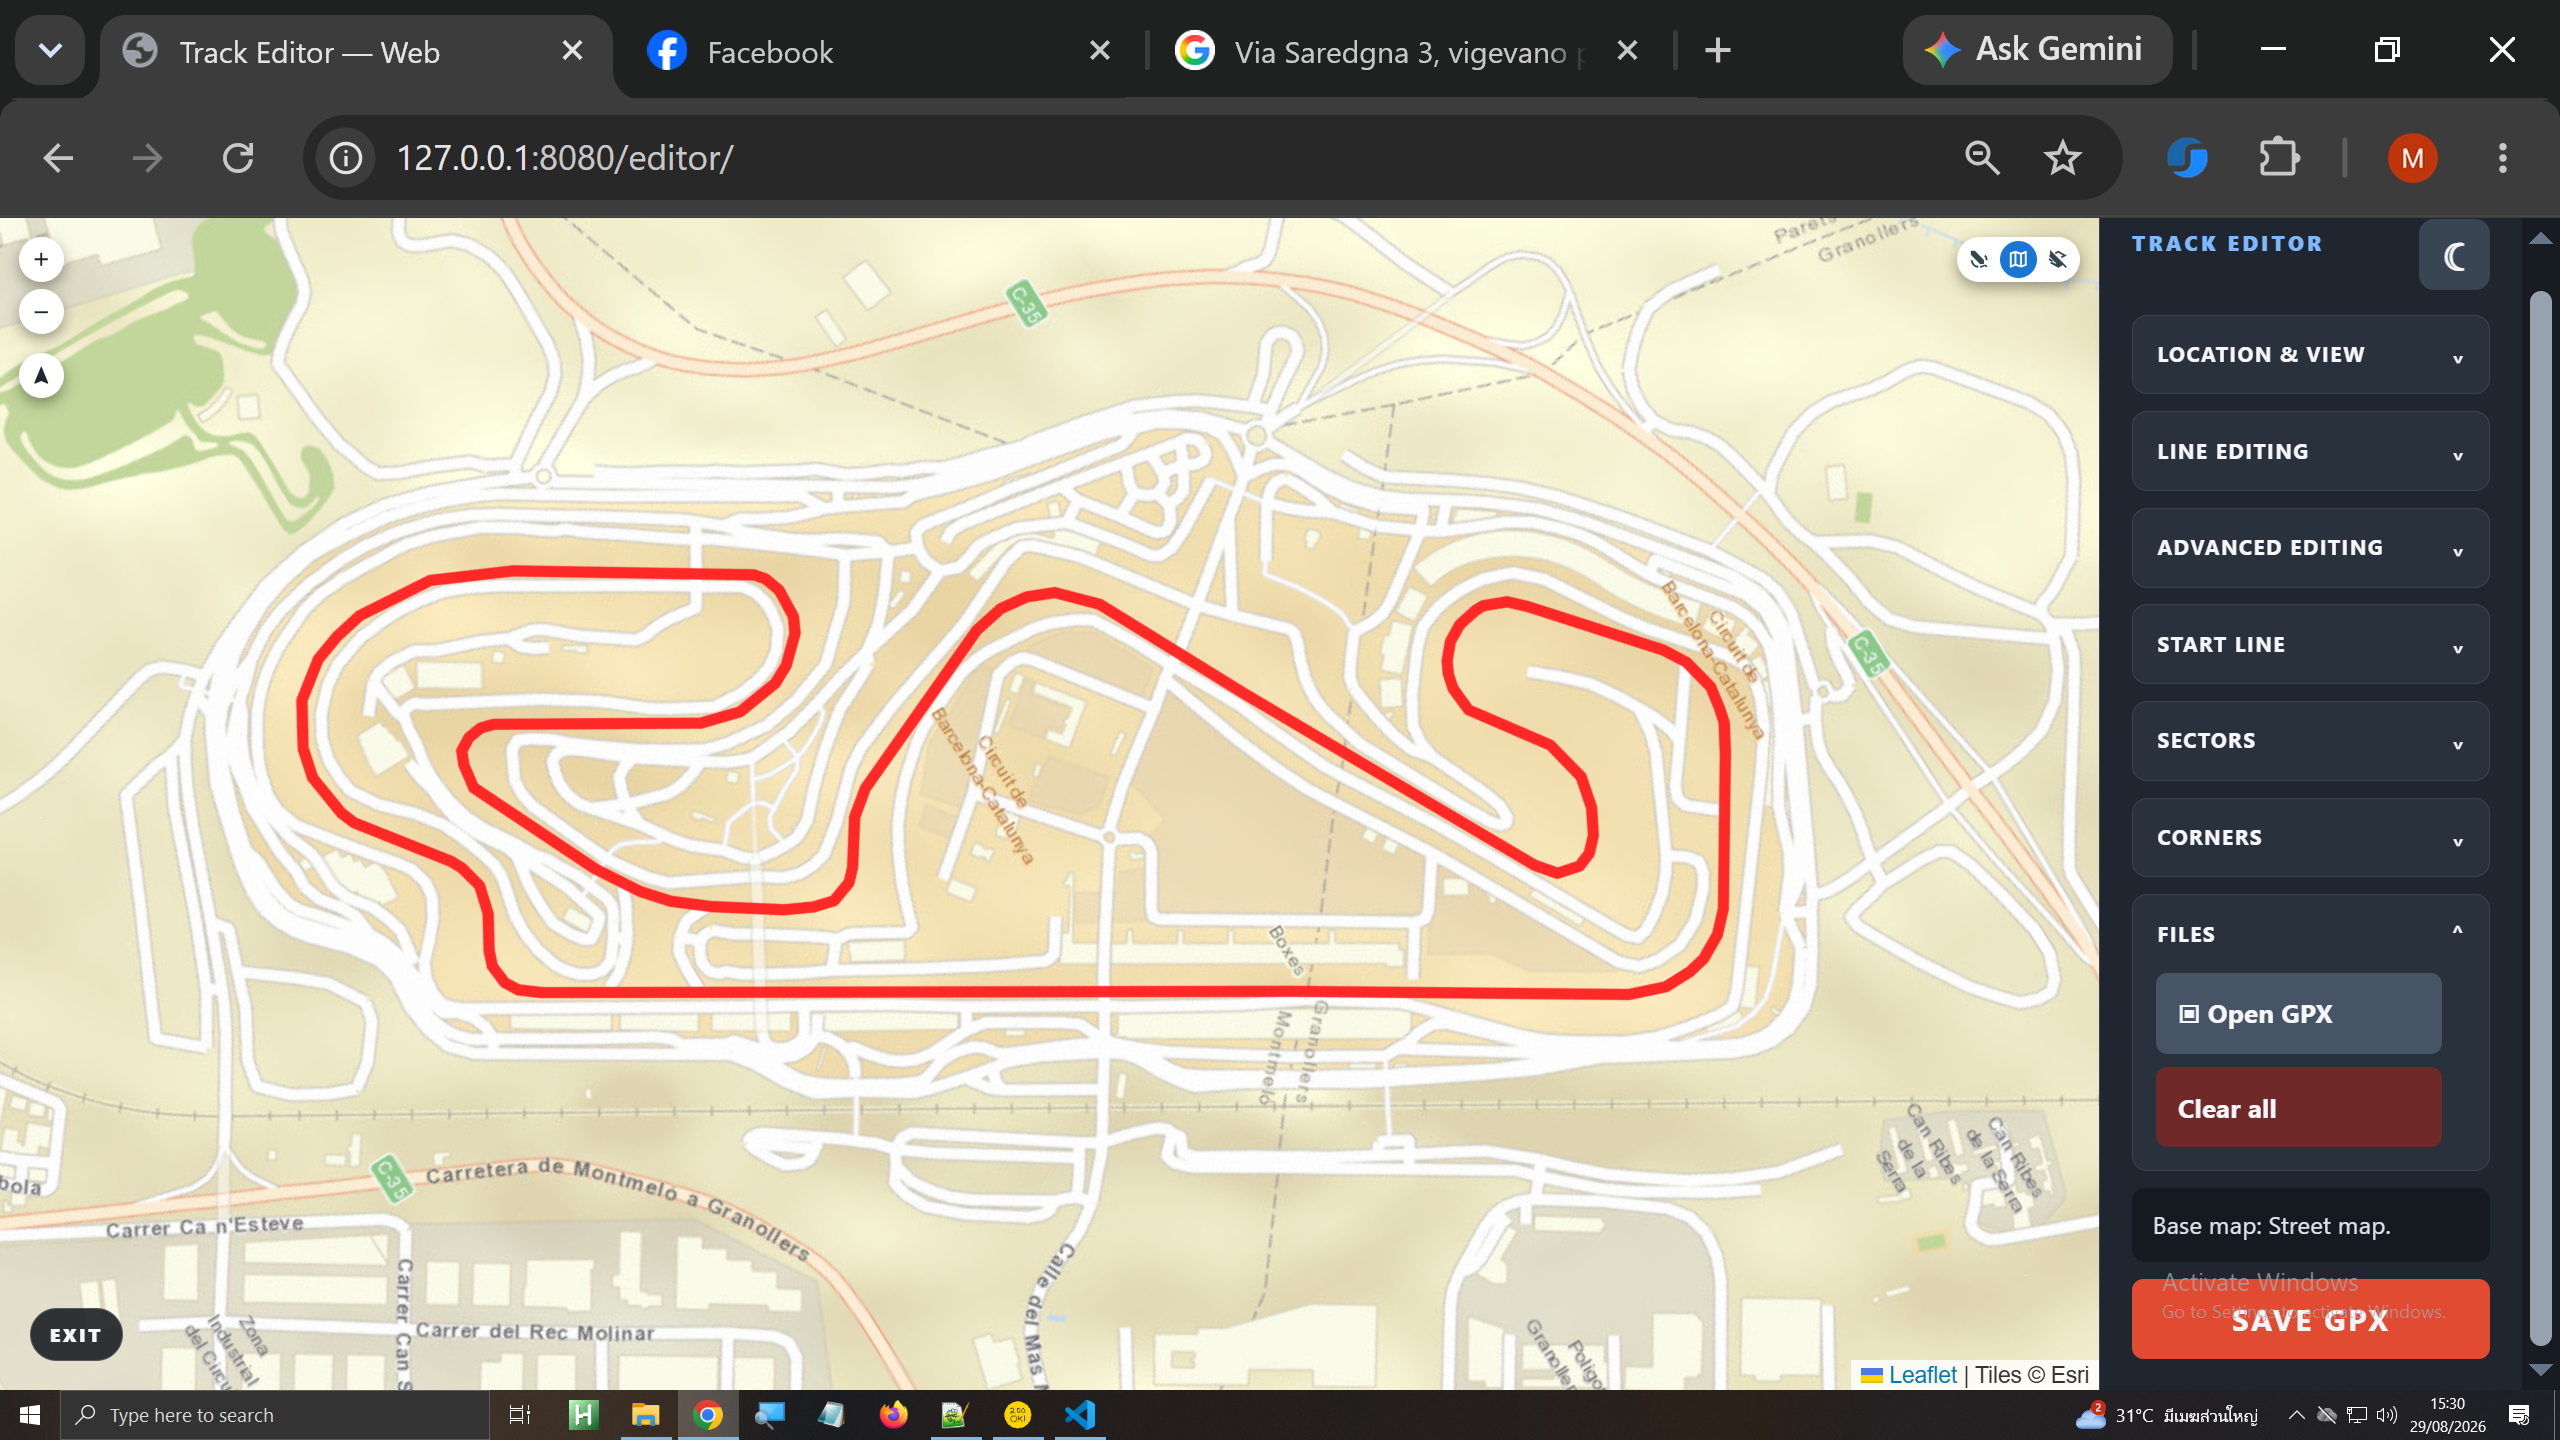
Open the existing GPX track and bring its circuit geometry into the editor.
QUICK START / 8 STEPS
The editor follows a clear order: location, geometry, origin, direction, sectors and corners.
OPEN THE TRACK
Open the existing GPX track and bring its circuit geometry into the editor.
CHECK POSITION
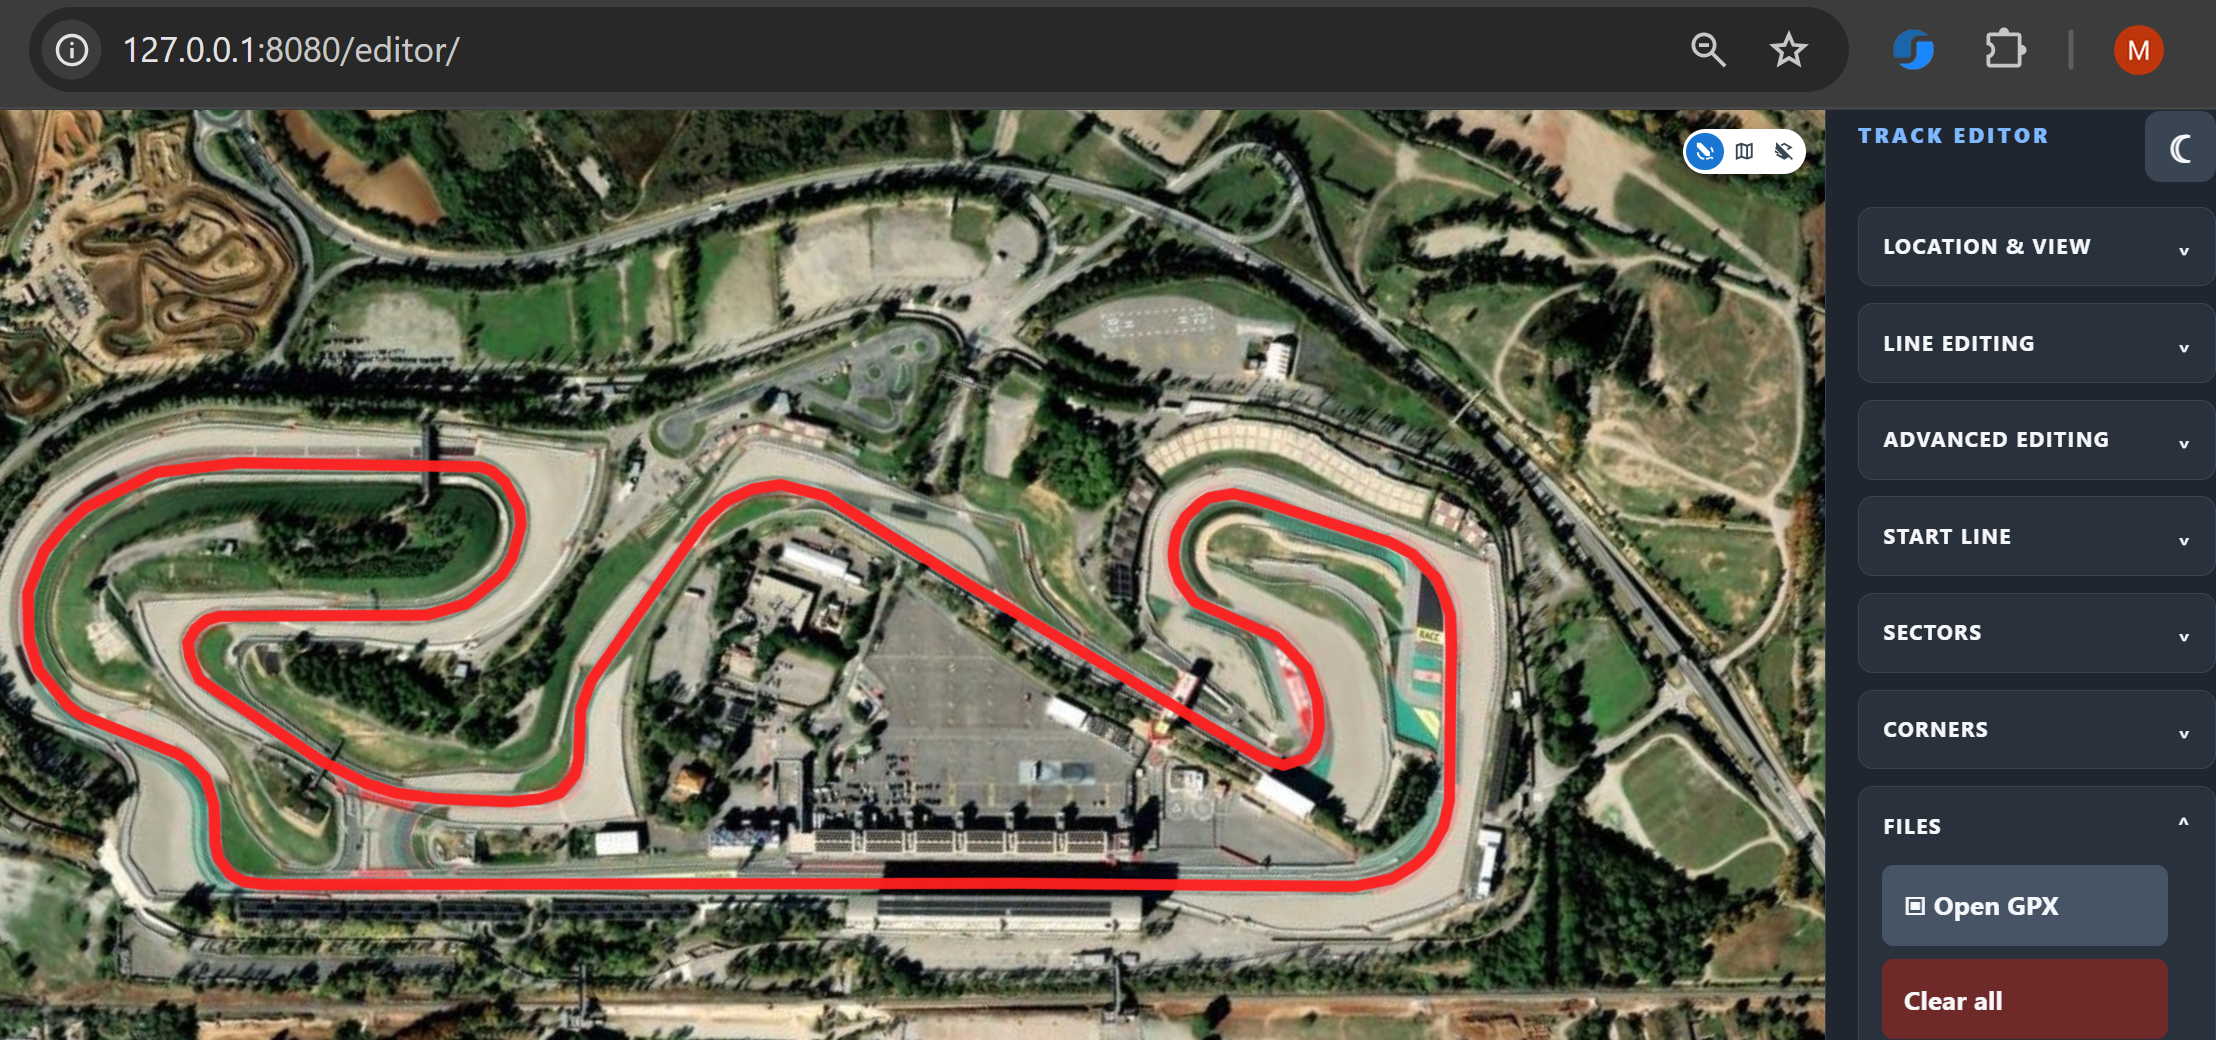
Use map or satellite imagery and GPS navigation to align the trace with the actual circuit.
REFINE
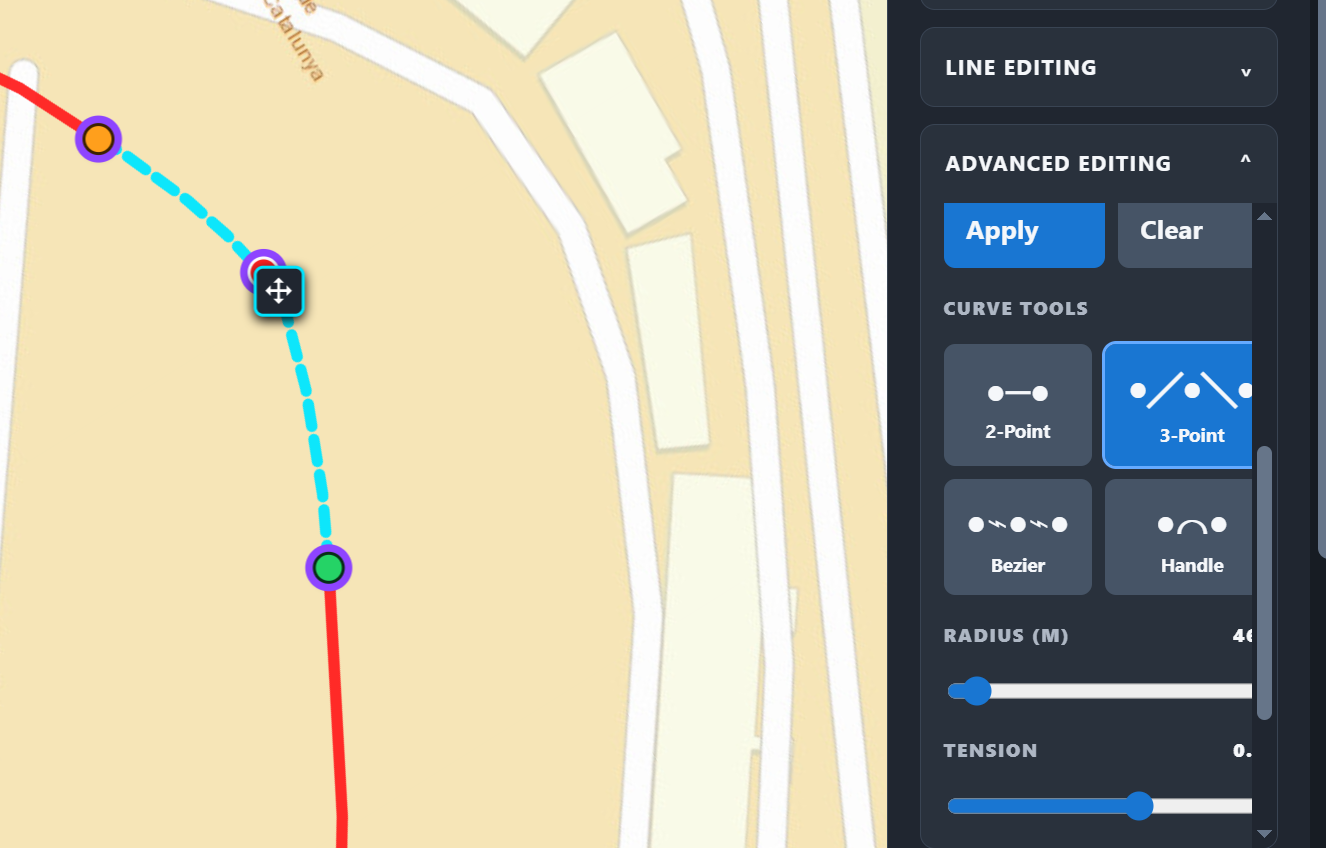
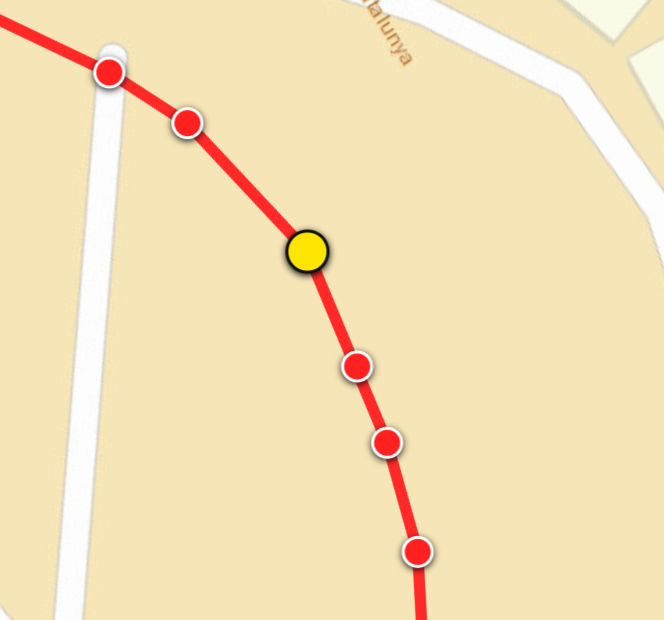
Move nodes and apply 2-point, 3-point, Bézier or handle curves where the raw geometry needs control.
PLACE START / FINISH
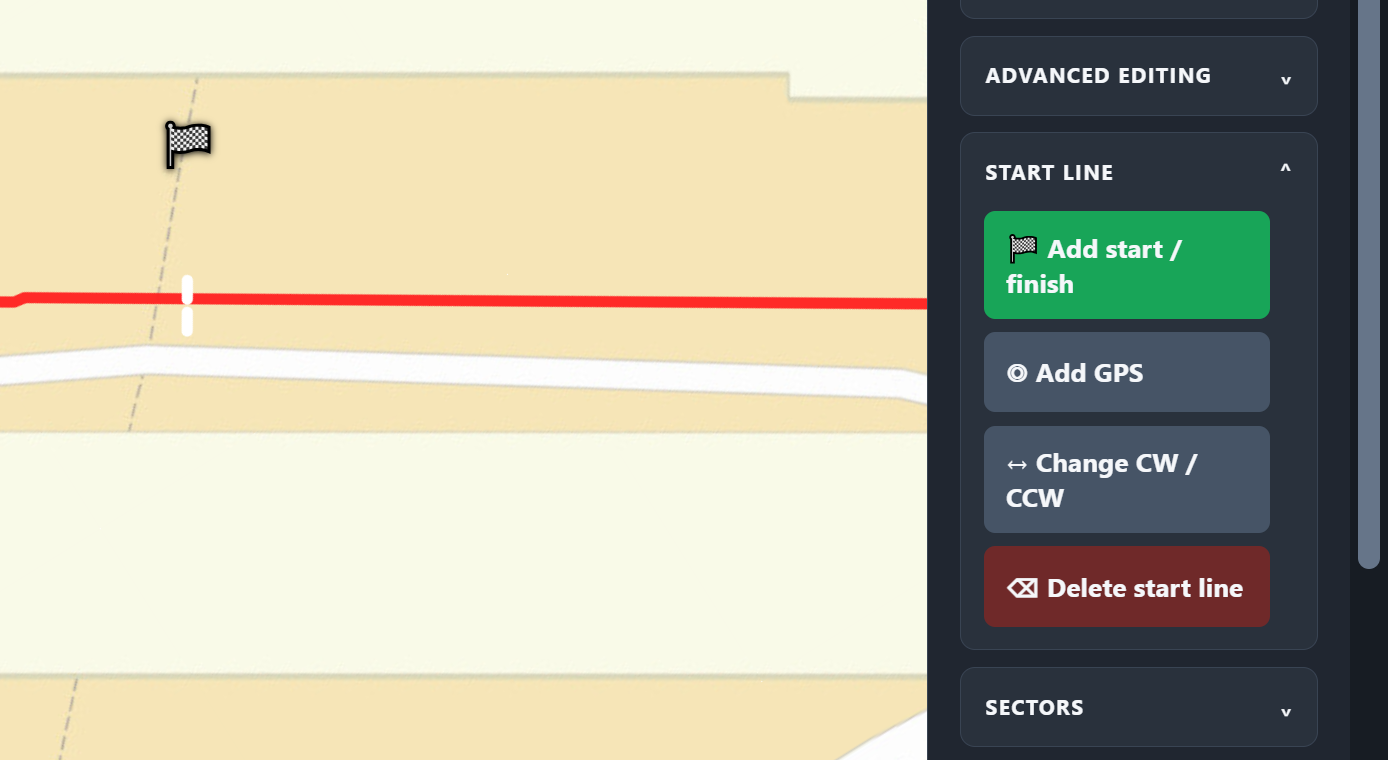
Put the gate directly across the trace or place it from GPS coordinates.
SET DIRECTION
Make the order around the lap unambiguous before adding definitions.
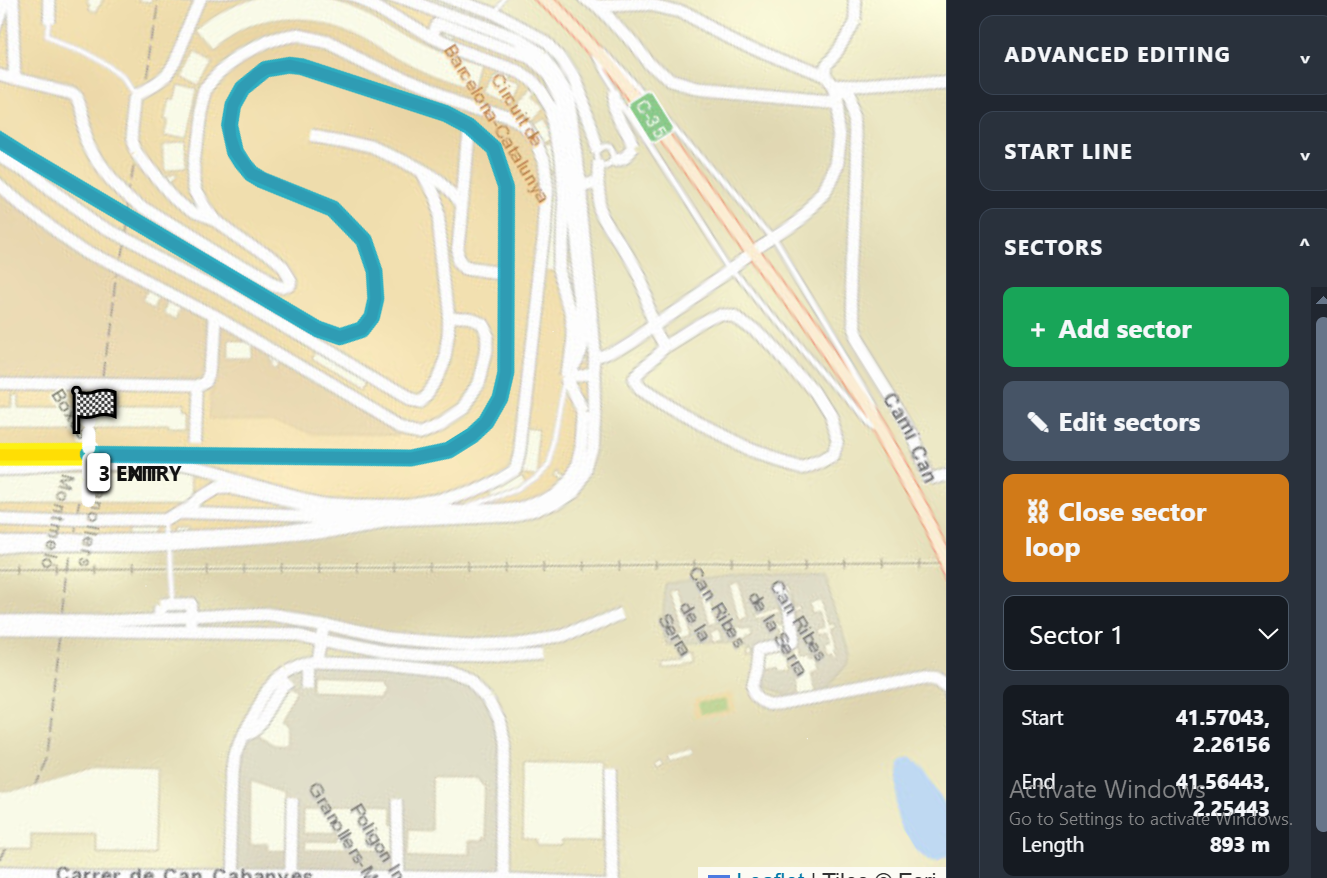
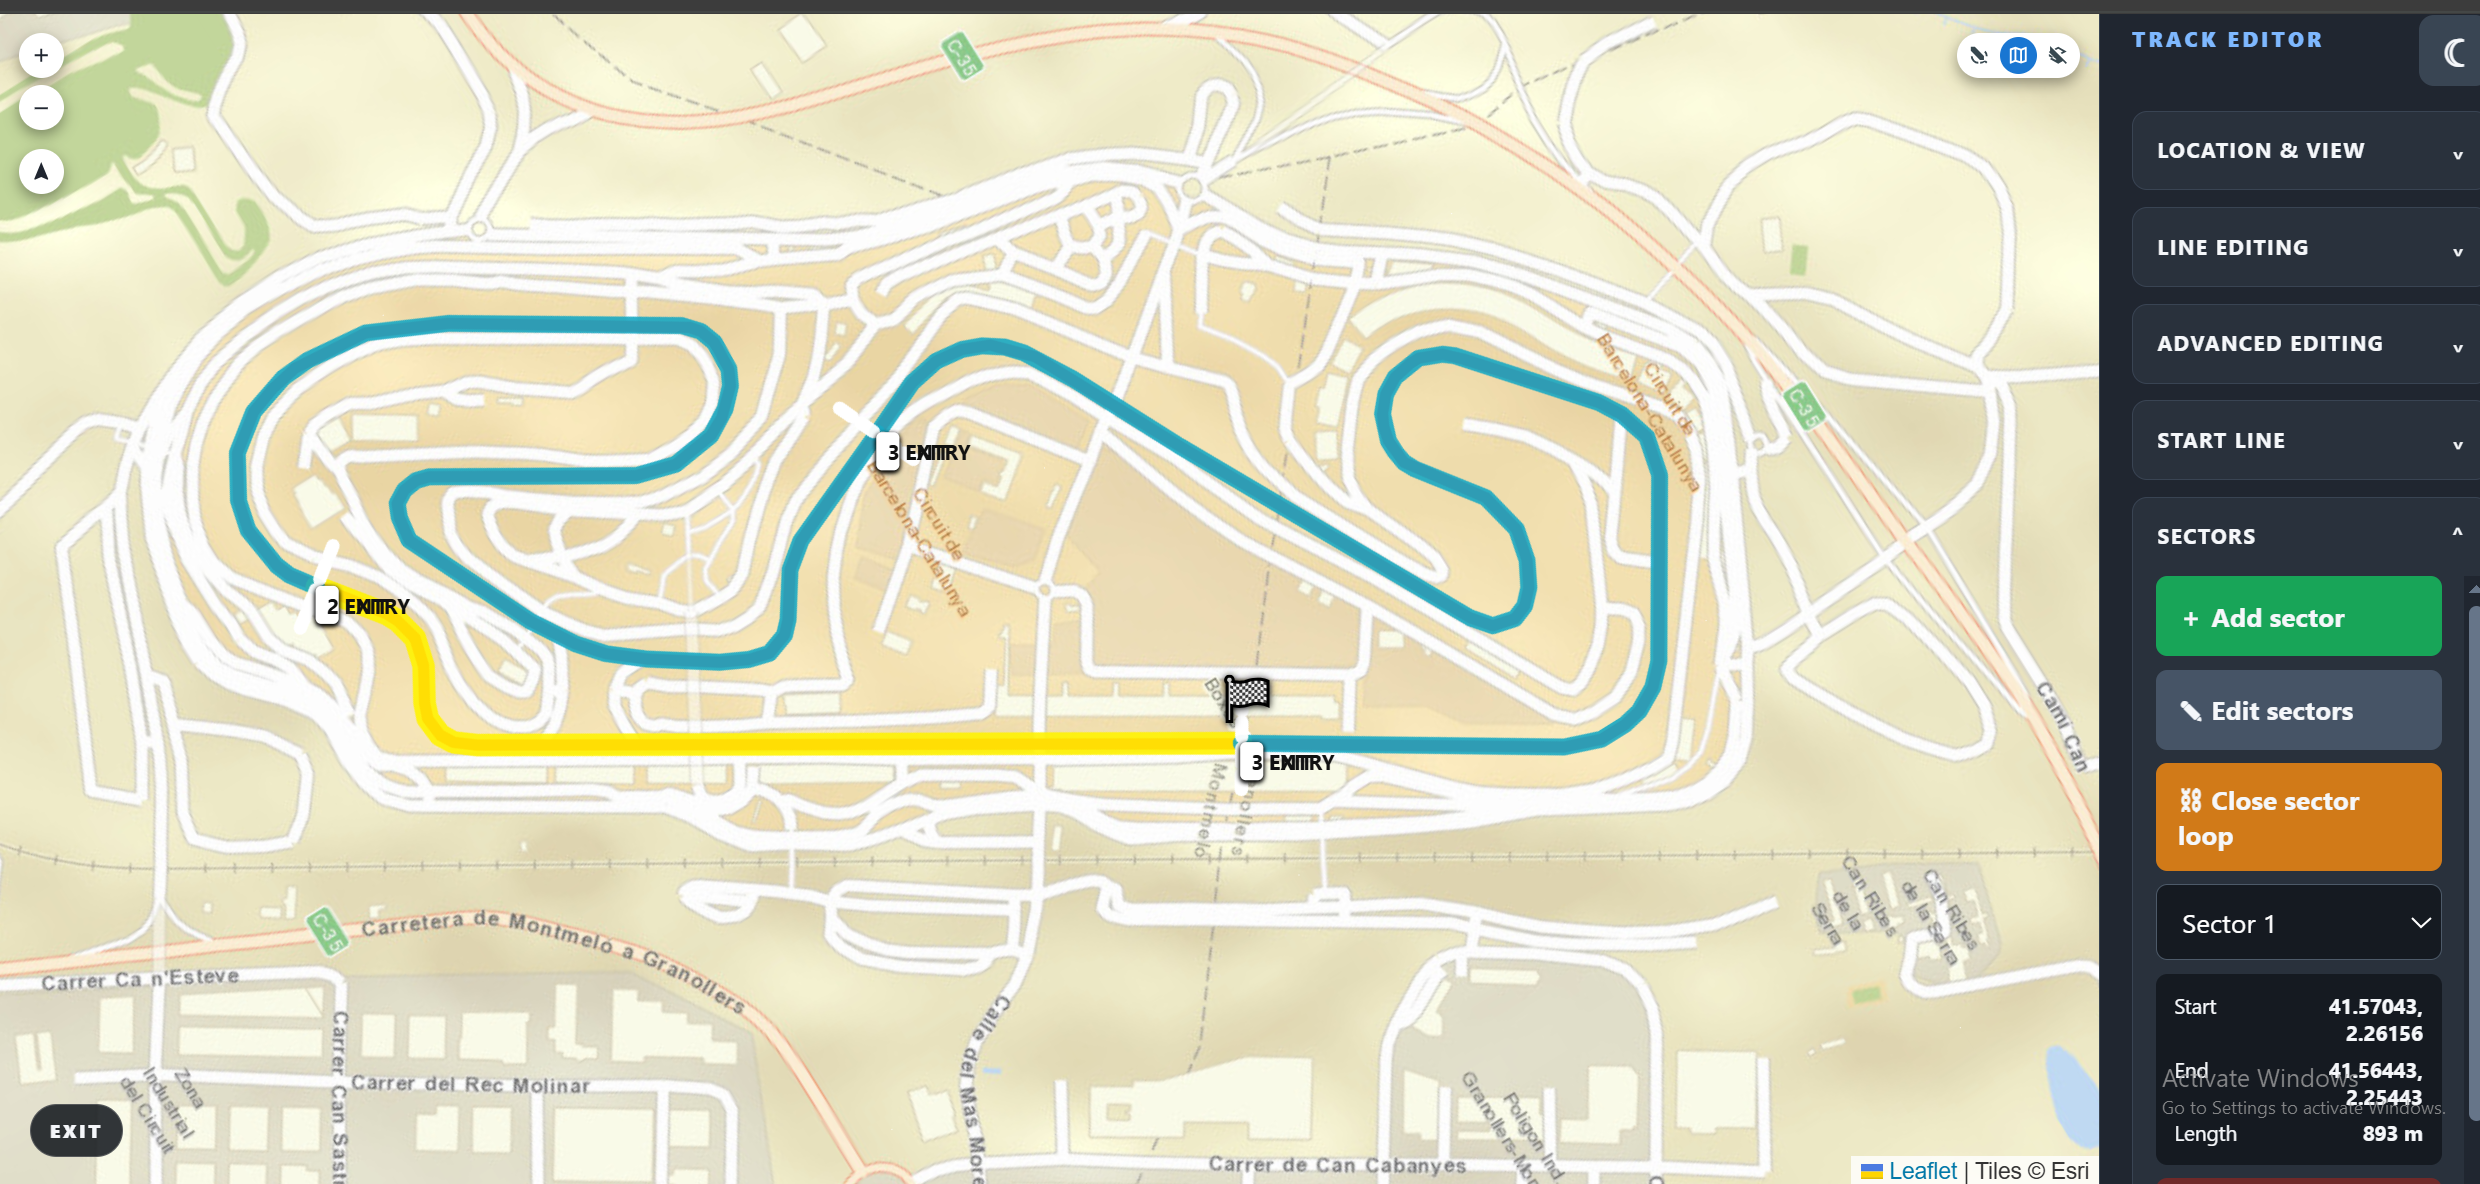
CREATE SECTORS
Mark, refine and measure the boundaries, then close the sector loop.
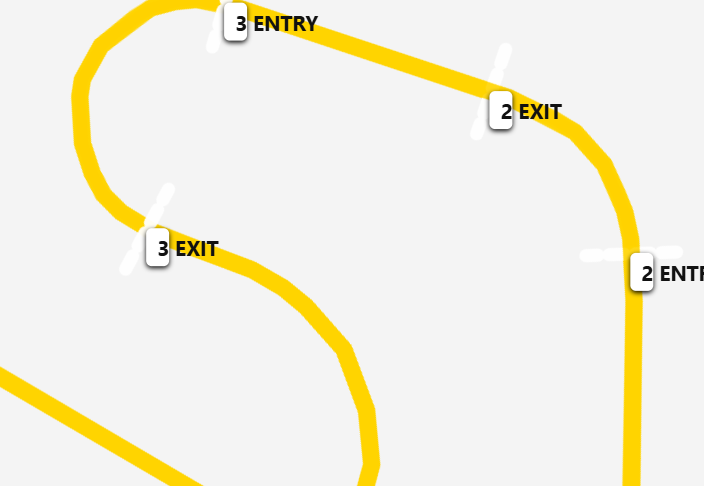
DEFINE CORNERS
Define the entire driven section. Keep linked and compound corners separate.
REVIEW & SAVE
Review geometry and ordered definitions, then save or export the completed work.
READY TO DEFINE THE LAP?